How to Prevent Brake Judder
28 May 2025
Category:
Our articles ‘Understanding Brake Judder’ and ‘Bedding-In & Material Transfer Process’ should have provided a better understanding of braking technology. Armed with that information, now we address preventative steps that can be taken to prevent brake judder.
Pre-Inspection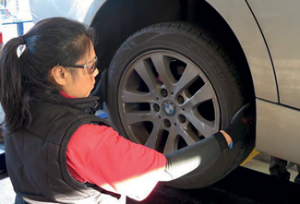
- Confirm symptoms by test driving the vehicle before removing any parts.
- Visually inspect the tyres. Uneven tyre wear, radial separation, and tyre damage can cause symptoms similar to those of braking issues.
- Check the condition of the wheel bearings. A worn bearing can lead to excessive lateral runout, which could make the brakes pulsate or pull.
- Examine the steering and suspension bushes and joints for any free play. If these bushes are worn, they won’t be able to absorb vertical and lateral forces when braking, so they can cause juddering.
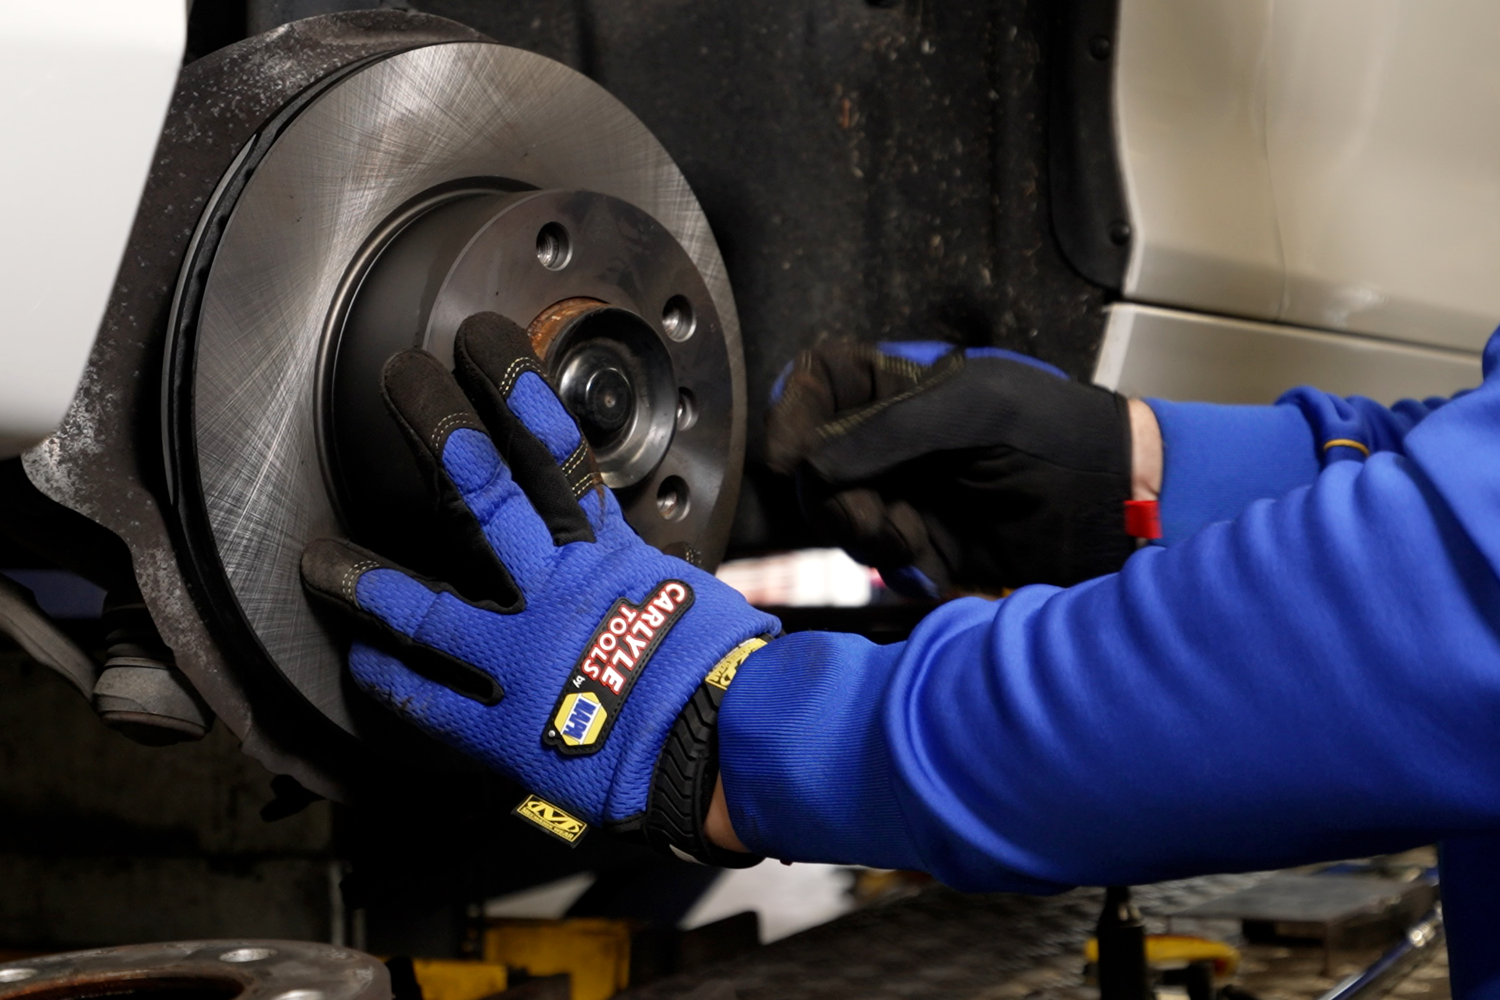
 Removal
- Inspect the pads for free movement in the caliper carrier; corrosion can make them seize.
- Excessive corrosion can also cause pad misalignment; check the caliper fingers and piston contact points.
- Remove the caliper entirely to inspect both caliper sliders, as deteriorated sliders and rubber boots can prevent free movement. If unsure, it’s best to renew.
- Retract the caliper pistons manually to check once more for free movement.
- With a micrometre, measure the brake discs in (at least) 8 different equal points around its perimeter, 2.5mm from the outer edge. Thickness variation of >30μm (>0.03mm) will result in brake torque variation, followed by brake judder.
Anything that disrupts the free movement of brake parts will also disrupt the even material transfer process, causing excessive DTV and brake judder.
Preparation
- With a tool that won’t compromise the metal, remove all corrosion from the caliper carrier, caliper fingers, and piston contact points.
- Thoroughly clean the corrosion build-up on the hub to bare metal, again with a safe and appropriate tool.
- Protect the above components by applying a wash-proof, metal-free lubricant treatment with a high melting point to prevent galvanic corrosion.
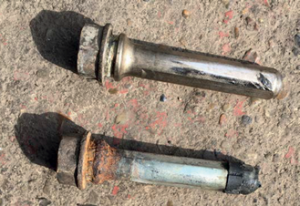
- Remove all sliders completely to clean them and their cavities thoroughly.
- Protect the sliders by applying a rubber-compatible lubricant treatment that repels moisture, ensuring free slider movement.
Corrosion build-up alters the tolerances of braking components. See our article ‘How Corrosion Affects Braking’ for a detailed explanation.
Refitting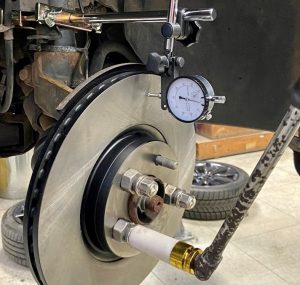
- To guarantee consistent braking performance, brake discs must always be replaced as an axle set.
- Thoroughly clean the disc and mounting surface. A foreign object as small as 0.05mm in thickness, when stuck between the disc mounting surface and the hub, will cause excessive lateral runout, leading to DTV and brake judder.
- A disc locating screw secures the brake disc and keeps contamination from getting behind the disc. If this screw is equipped, renew and replace.
- Mount and secure the disc.
- Inspect for disc runout with a DTI gauge; this should be under 0.08mm. Anything over this will cause excessive lateral runout, leading to DTV and judder. NAPA recommends the Carlyle Brake Disc Measuring Tool, a metric DTI gauge accurate to 0.01mm.
- Examine and clean the wheel contact surface before refitting. Contamination or poorly refurbished alloy wheels will cause excessive lateral runout and judder.
- Following the correct torquing sequence, torque the wheel bolts to the correct torque. Incorrect torque could damage the disc hat and distort the hub contact surface, causing lateral runout and judder.
Aftercare
Follow the recommended bedding-in procedure and aftercare as detailed in our ‘Bedding-In and Material Transfer Process’ article.
When discs are fully coated, the bedding-in process will take longer. The coating will need to be removed entirely for the pad material to transfer evenly onto the disc surface. Make the driver aware of the recommended aftercare for about 200 miles to ensure even material transfer.
Repeated heavy braking after high speeds, depressing hot brakes for long periods of time while stationary, continuous braking on steep declines instead of engine braking, and feathering the brake pedal can all disrupt the even material transfer process, leading to DVT and brake judder.
Even after 200 miles, incorrect braking technique will affect the even material transfer process.
NAPA Braking gets the aftercare started for you with an additional high-pressure “ProBed Scorching” treatment as part of the manufacturing process. This extra step guarantees superior initial performance and easier bedding-in.
NAPA Brake Discs are also only coated on the hub and edge surface. At the friction surface, we stop. This means there’s no coating to contaminate the pads and reduce their efficiency.
DRIVE YOUR BRAKING KNOW HOW
Do you have further queries? For in-person support, book a TechMate visit today! Contact the team on 01174 288090. All other technical support is available via our expert NAPA Technical Team on 03333 136597 or email [email protected].
Fuel Filter Fitment Guide – NFF2102
When installing a new fuel filter, it’s important to ensure correct fitment is followed. Keep...
Read MoreFuel Filter Fitment Guide – NFF2280
When installing a new fuel filter, it’s important to ensure correct fitment is followed. Keep...
Read MoreAir Filter Fitment Guide - NFA1587
When installing a new air filter, it’s important to ensure correct fitment is followed. Keep...
Read More