Clutch Fitment Guide
16 Apr 2025
Category:
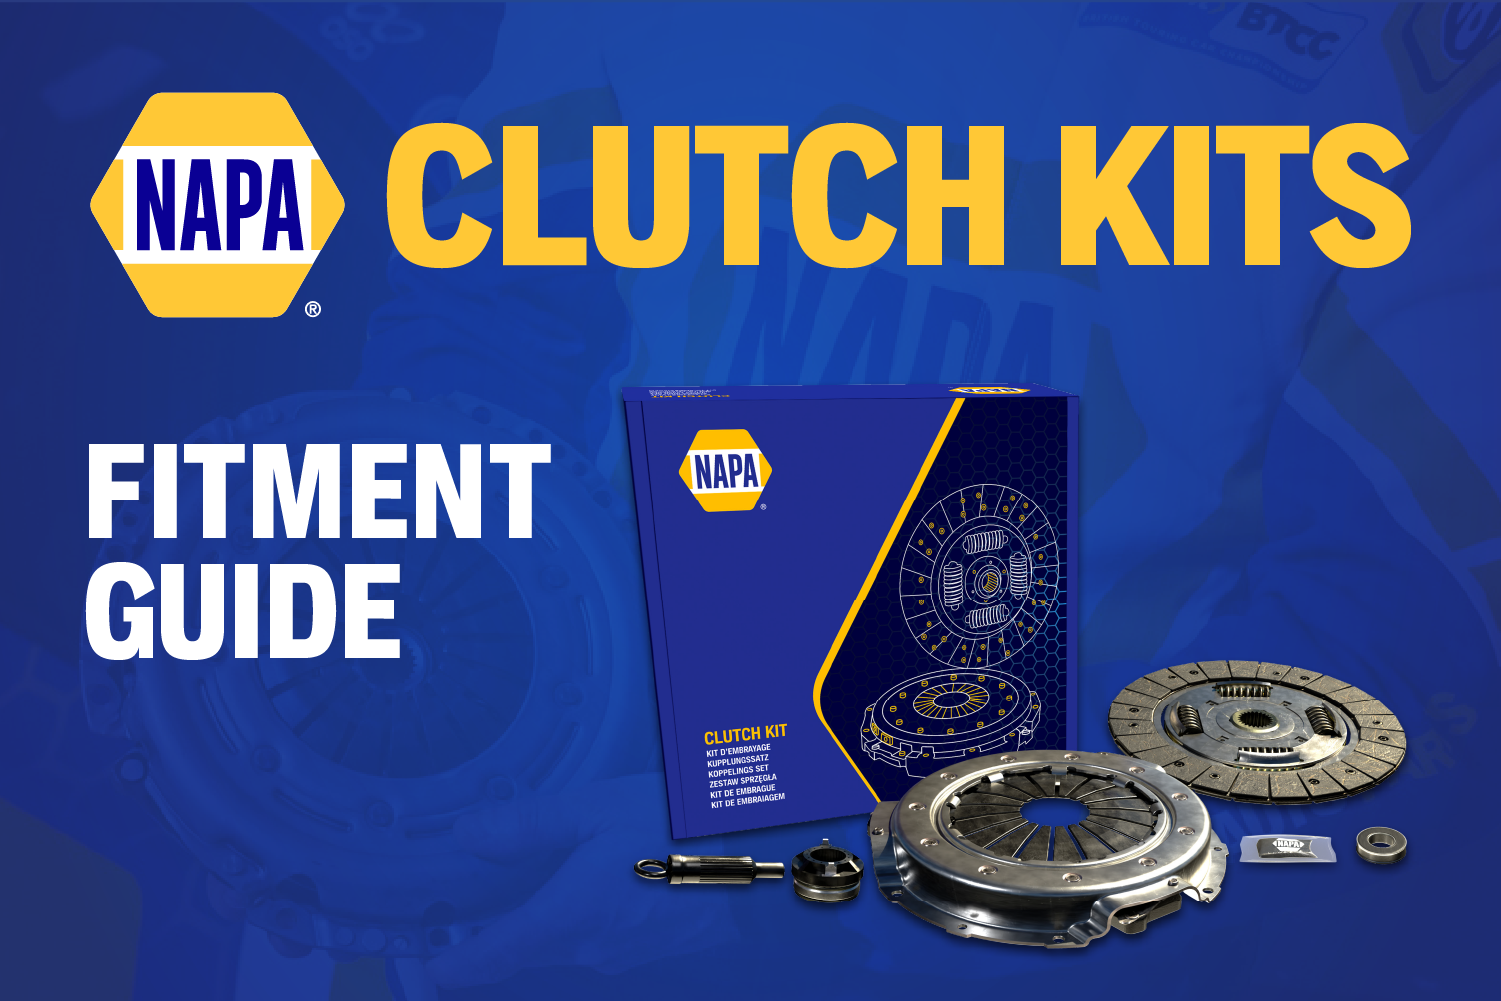
In this guide, we’ll walk through the key best practice advice for fitting clutch kits. Ensure that best practice is followed at all times for correct fitment.
COVER ASSEMBLY
- Remove rust preventative from the pressure plate surface.
- Ensure locating dowels are fitted.
- Tighten bolts one to two turns at a time in diagonal pairs to manufacturer’s specified torque.
DRIVEN PLATE
- Keep clutch facings clean. Contamination can cause shudder and slipping.
- Ensure that the correct side of the clutch plate is facing the flywheel.
- Clean splines and lubricate with spline grease. Be careful to use a minimum of spline grease; too much will radiate outwards in
operation and contaminate the clutch facings. - Ensure clutch plate slides freely on gearbox spline.
- Use an alignment tool to centralise the clutch plate.
- Support the weight of the transmission when fitting to prevent distortion of the plate.
RELEASE BEARING
- Check the release bearing guide for wear. Wear in this area can cause a notchy or jammed pedal.
FLYWHEEL
- Inspect flywheel for hot spots, scoring, and warping.
- It is recommended that the flywheel be resurfaced to manufacturer’s specifications. Alternatively, replace with new flywheel prior to clutch replacement.
SPIGOT
- Inspect the spigot bearing or bush for wear and damage. Replace if necessary.
BELL HOUSING
- Thoroughly clean the interior of the bell housing.
- Dirt or other material left in the housing can contaminate the clutch facings, causing clutch shudder.
TRANSMISSION LOCATION
- Worn or missing dowel locations will cause driveline misalignment, resulting in rapid wear of the new clutch assembly.
- Ensure dowels are fitted and in good condition.
- Clean all mounting faces.
OIL SEALS
- Oil can contaminate the clutch plate facings, causing shudder and slippage.
- Inspect crankshaft and gearbox seals. Replace as necessary.
RELEASE MECHANISM
- Wear or incorrect adjustment in this area can cause non-release of the clutch.
- Inspect and adjust (or replace) clutch fork, pivot ball, clutch cable, and hydraulic cylinders.
Concentric Slave Cylinder (CSC) Installation Tips
- Do not compress the cylinder prior to installation as this can deform and break the seals, causing premature failure.
- Ensure the installation area is clean and free from debris to make sure the CSC sits correctly.
- Make sure the locating bolts are evenly torqued to manufacturers specifications.
- Before bleeding the system, it is important to make sure the gearbox is located correctly and securely.
- Bleed the system following the manufactures guidelines, making sure to not rapidly depress the pedal as this may damage the CSC seals.
Drive Your Clutch Know How
Do you have further queries? For in-person support, book a TechMate visit today! Contact the team on 01174 288090. All other technical support is available via our expert NAPA Technical Team on 03333 136597 or email [email protected].
Jaguar Wear Sensor Fitment Guide
When fitting new brake pads, it’s important to also fit new braking accessories like wear...
Read MoreHow to Prevent Brake Judder
Our articles ‘Understanding Brake Judder’ and ‘Bedding-In & Material Transfer Process’ should have provided a...
Read MoreClutch Fitment Guide
In this guide, we’ll walk through the key best practice advice for fitting clutch kits....
Read More